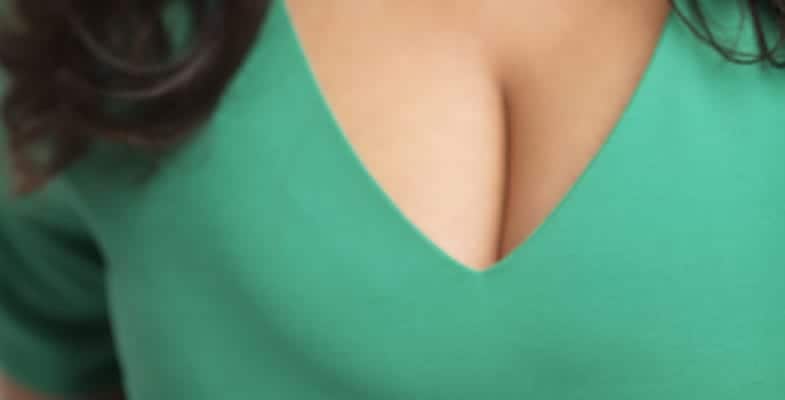
Your bra seemed to fit you a few months ago, but these days you wonder how to fix bra spillage. This is quite an embarrassing problem. It’s also made it hard to wear some of your favorite outfits because of the unflattering silhouette your breasts create in the bra. Is there any way to fix bra spillage – and fast?
Bra spillage is totally fixable if you follow these 10 quick fixes:
- Try a different style bra, like a full-cup over a balconette
- Adjust the underwire so it encircles your breasts
- Tuck your breasts into the cups
- Tighten the bra straps for a comfortable fit
- Close the band clasp on the next tightest setting
- Don’t wear the same bra more than one day in a row
- Switch to a sports bra in a pinch
- Wear something that lets you go braless
- Measure yourself for a new bra
- Upgrade to a bigger bra
Keep reading for more information on these handy little hacks you can do for a better-fitting bra in five minutes or less! It’s time to fix this issue for good.
Is Your Bra Spilling Over? How to Fix It in 5 Minutes or Less
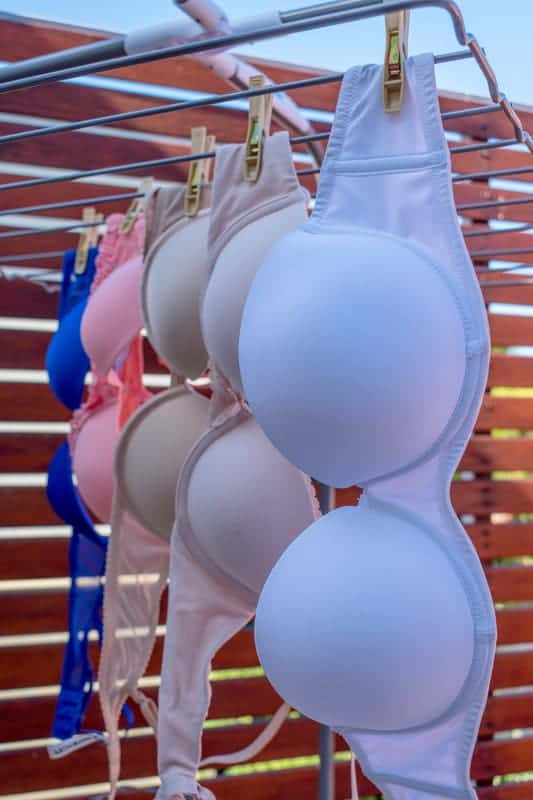
1. Change Your Bra Style
The wonderful world of bras is quite an expansive one. For any type of mood, style, or dress code, you can find a bra to match. Your own wardrobe is probably filled with a variety of bras.
Which one you pick shouldn’t be decided on a whim. Some bras, such as the balconette, are frilly and beautiful, but not necessarily intended for everyday wear. These bras often lack the cup support you need to keep your breasts tucked in all day, especially when you bend over.
The same is true of a demi cup bra. It’s also pretty, sure, and great for wearing around the house or on that hot date, but to work? Not so much.
If you have a larger bust especially, your everyday bra needs to be supportive for all activities. Yes, that includes bending down. On that note, try a full-cup bra. As the name suggests, this will keep your breasts in so not only do you avoid breast spillage over the top of your bra, but at the sides as well!
2. Adjust the Underwire
The underwire of your bra is one of the more important elements of support. It can also be incredibly painful if it slips loose from the bra and begins poking you in your breast or the ribs.
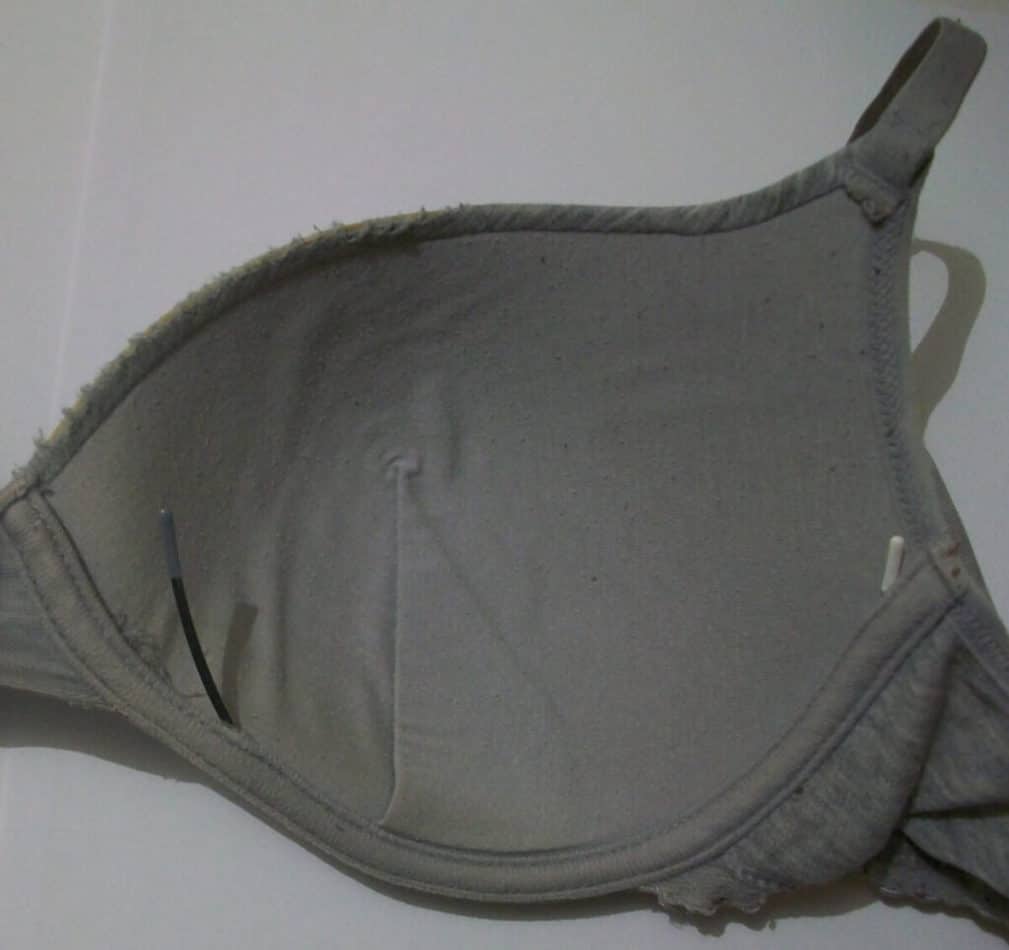
Even if your underwire is still (thankfully) fully attached within the confines of your bra, you can adjust it. Before you grab your bra to put on for the day, tinker with the underwire. It should form a semicircle around your breasts, conforming to their natural shape within the bra.
If the underwire works against you, shoving your breasts up, you could have that dreaded quad-boob look. A quick fix can solve that. Of course, if your bra doesn’t come with an underwire (not all do), then disregard this step.
3. Tuck Your Breasts into the Bra
If you’re especially gifted in the chest department, then even in a well-fitting bra, you may have to do some scooping and tucking. Okay, so it’s a three-part process.
First, you want to lean over, bending at your waist. Put the bra on in this position so your breasts naturally sit in the cups.
If you still have to make adjustments, then next, you want to scoop your breasts into the bra cup so the breast tissue moves up and forward. This prevents side spillage and possibly top spillage as well.
Finally, push your breast tissue into place if necessary using your fingertips. Your index fingers should start towards the middle of the bra and then travel to the straps, smoothing the breast tissue along the way.
4. Re-adjust Your Bra Straps
Loose bra straps are a daily nuisance, as you’re always reaching into your shirt to pull them up. This gets especially humiliating when the weather warms up, as if you wear something strapless, there’s your bra strap skittering down your bare arm.
Tight bra straps are just as bad in their own way. Yes, they stay secure, but they dig painfully into your shoulders. By the time you take your bra off at the end of the day, you have painful red marks.
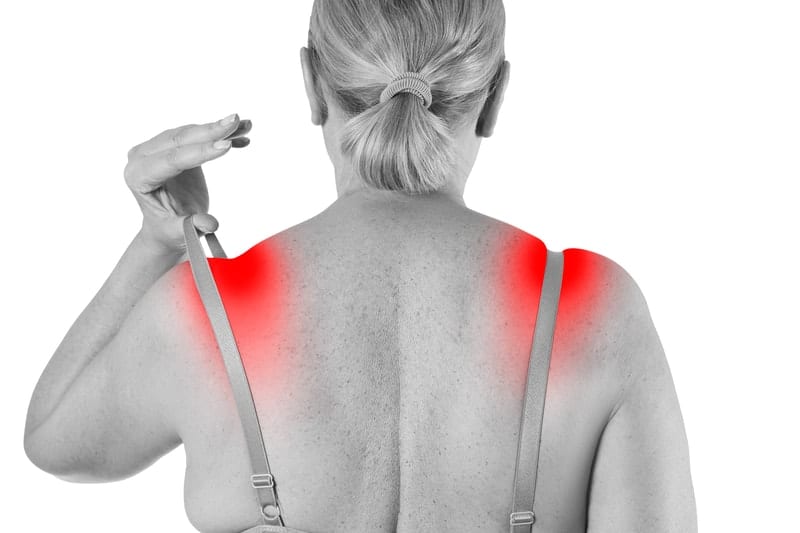
By readjusting your bra straps, you’ll be more comfortable, and you could overcome your bra spillage problem in one fell swoop. You want the straps tighter than looser, but not so tight that you’re hurting yourself.
The next time you wear your bra, it might fit better, keeping your breasts just where they should be: in the bra!
5. Set the Band Tighter
If your bra doesn’t fit anymore, it’s not necessarily that you need a bigger cup size. It could also be that your band was never properly measured.
Just to recap, the band of the bra is the portion that covers your back. Some women have a problem where their band sits too low, but yours is the opposite. The band might stay where you want it when you first put the bra on, but within 10 minutes, it begins inching up.
This is a clear sign that your band size is not correct. The band should sit straight.
By tightening your bra band, you might be able to fix the issue. Most bands have three clasps. You’re supposed to start with the loosest one when the bra is newest, then use the second clasp when the bra gets older, and the third clasp after that.
If you’re only on the first clasp, then it’s probably been a long time since you’ve tightened the band, especially since it’s riding up. If you already tightened the band twice, you can do it a third time, but your bra is on its last legs by this point.
6. Don’t Keep Wearing the Same Bra
One way you can prolong the life of your favorite bra is to stop wearing it every day. Yes, it may be your favorite, but you’re only speeding up its demise by using it so much.
Have a collection of two or three bras you rotate between. When your favorite bra gets a much-needed day off, all the elasticity it may have lost can be restored, at least to a degree. The next time you wear the bra, it could feel tighter. That may fix your bra spillage issue among all your bras.
7. Throw on a Sports Bra
You have a big work presentation today and you’re dressing up nicely. Yet when you put on that ol’ faithful bra, it pushes your breasts up and over so you get the unappealing quad-boob look. It’s not flattering in the least, and you can’t show up to work like this.
If you have a supportive sports bra that smooths your breasts (without causing uni-boob), you can change into this in a pinch. Just make sure the straps don’t create an unflattering silhouette in the back that’s noticeable to anyone.
It’s better if your sports bra is relatively supportive as well. It doesn’t necessarily need underwire, but rather, a firm, close fit that holds you in. You’ll probably be quite comfy as you leave your quad-boob problems behind!
8. Go Free for a Day
If all your sports bras are in the wash or you have none that fit well enough, you can also try going braless. Obviously, you want to wear a style that’s going to hide this decently enough, especially if you’re larger-chested.
Wearing a bra that doesn’t fit isn’t comfortable, and experts recommend you not do it. Layer up if you can with a tank top or even a bralette to keep any traces of your nipples out of sight. This trick can work for a day or two, but it’s not a super long-term solution.
9. Get Measured
If you’ve tried all the tips and steps above so far outside of throwing away your bra and none have worked, then it’s high time you get measured. More than likely, your current bra is too small, either the cups or the band, perhaps even both.
Luckily, these days, there’s no need to go to a bra store to get fitted unless you want to. If you have a friend or partner, some measuring tape, and five minutes, you can measure for your new bra at home.
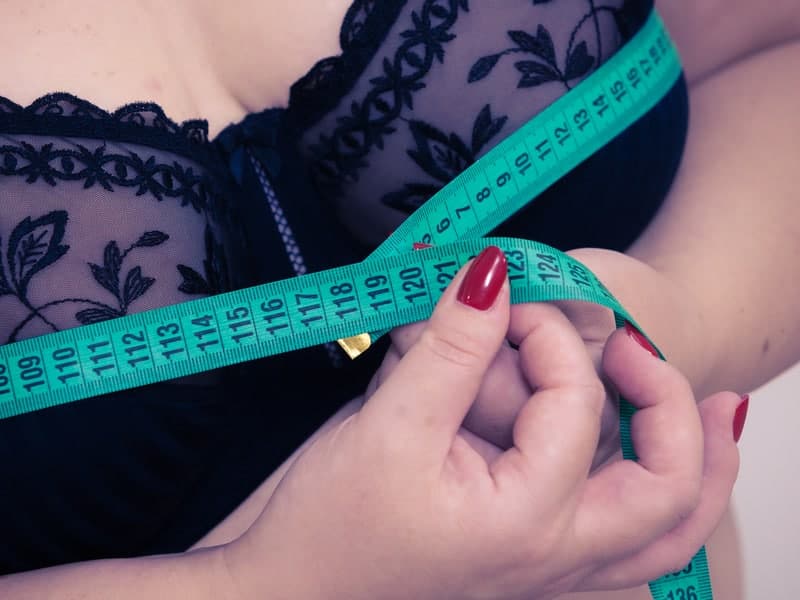
First, you need to figure out what your band size is. You should put on a bra without padding or wear a strapless bra. Have your friend or partner wrap the measuring tape right beneath your bust at the bra band. Pull the tape for a firm fit, but not one that’s tight. Then record that number, rounding it up if necessary.
For an odd number, tack on five extra inches, and for an even number, it’s four inches. When you add the inches to the number on the measuring tape, that’s your band size. For example, a calculation of 33 means you should upgrade to a 38 band.
Next, you want to measure your bust. This time, your friend or partner should put the measuring tape around your chest where it’s fullest, typically around your nipples. Take that number and round it up.
Using a cup size chart, you can review the numbers you have and determine what your new cup size should be.
10. Shop for a New Bra
Now that you know what your bra size is, you don’t want to go a single day longer with an ill-fitting, spillage-causing bra than you have to. Through the power of the Internet, you can find a bra on Amazon or Target in a matter of minutes.
Make sure the retailer offers returns in case the bra doesn’t quite fit. If that’s the case, then you may want to head to a store for another fitting. This will take longer than five minutes, but it’s for your comfort.
Conclusion
If your breasts spill throughout the day because your bra is too small, you don’t have to deal with it for another day. The 10 fixes in this article all take just a few minutes of your time. From strap adjustments to underwire shaping, band tightening and more, you can finally stop your bra spillage issue! More on bras here.